


Our First Digital Human Test
Earlier in 2020 we spent some time testing out our new Ximea machine vision scanning system and our R&D processing pipeline. We’ve been so busy that only now have I had time to post some information about the workflow. We had the opportunity to scan Spencer C from BMA Models. This was our first chance to test out our full pipeline of scanning a subjects photometric skin details as well as a “motion scan” of their performance. We then planned to use their motion scanned performance to drive their photometric scan!
Today’s inspiration
[soundcloud url=”https://api.soundcloud.com/tracks/761143807″ params=”” width=” 100%” height=”166″ iframe=”true” /]
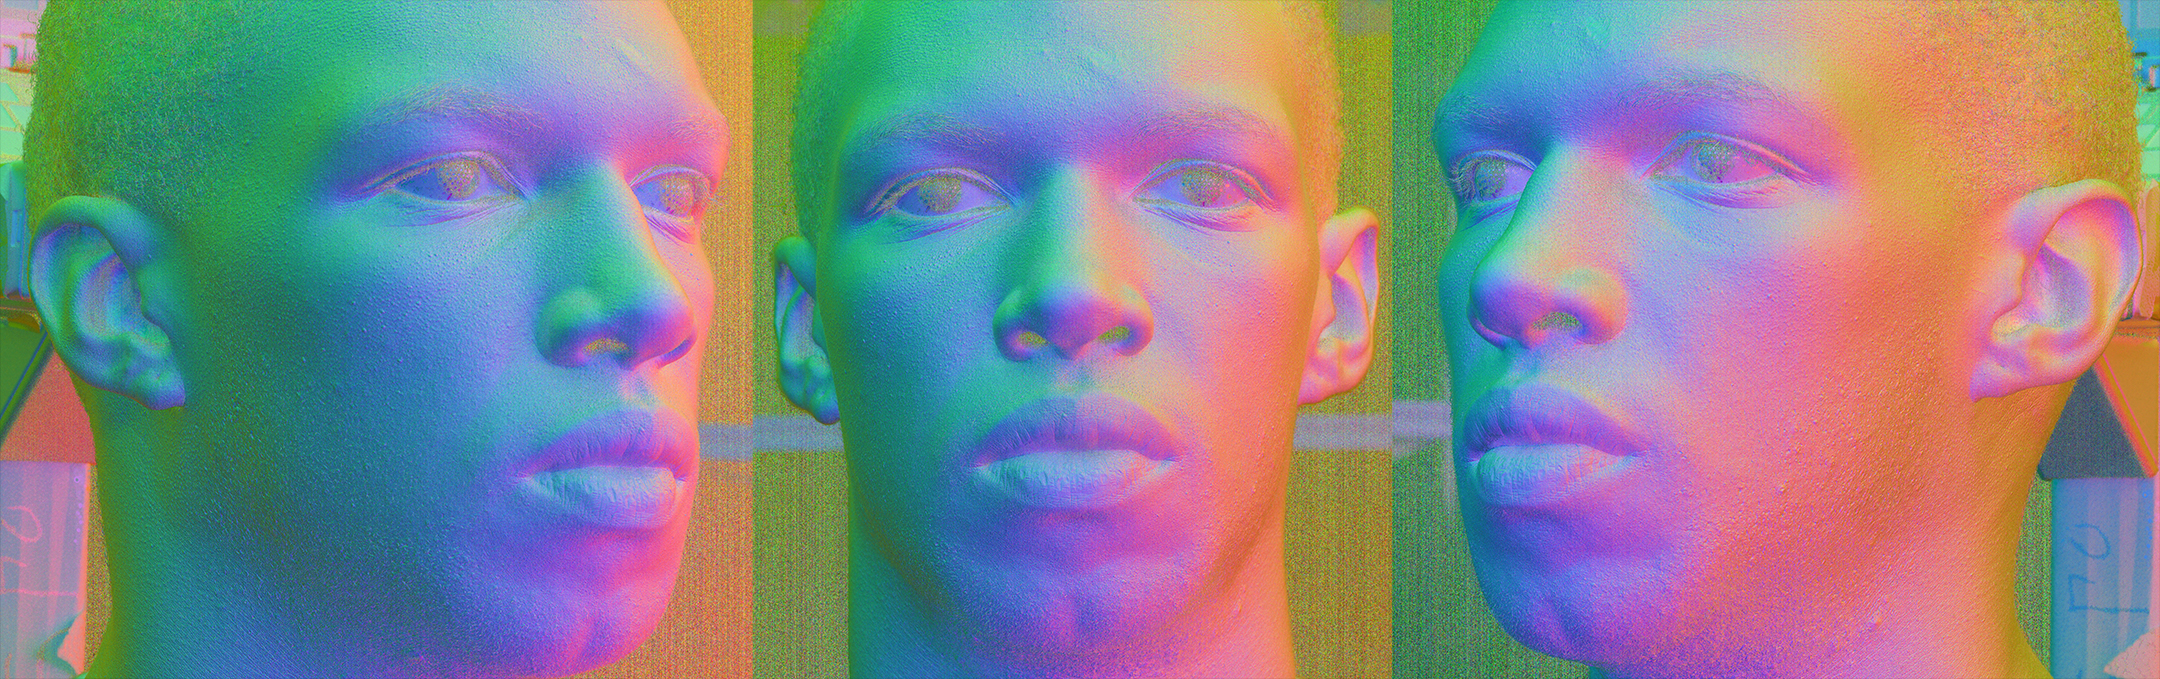
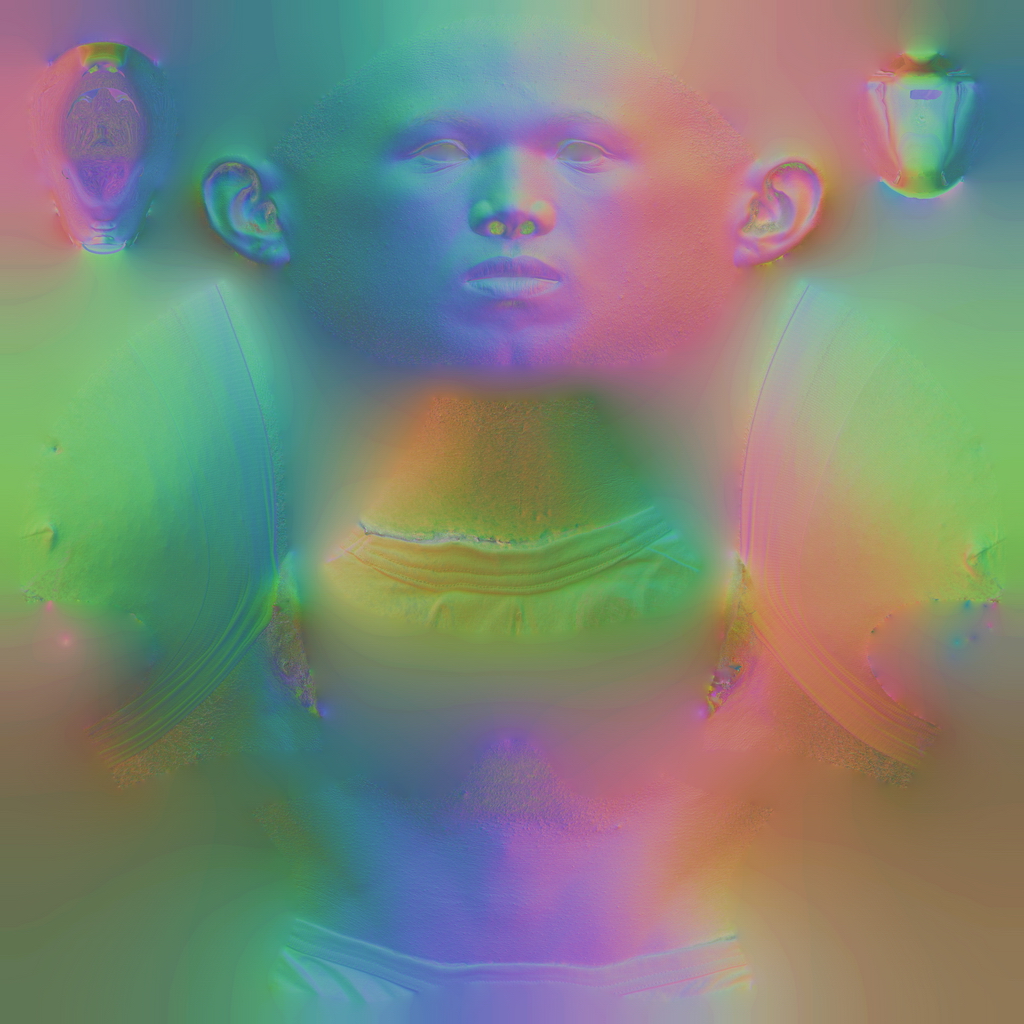
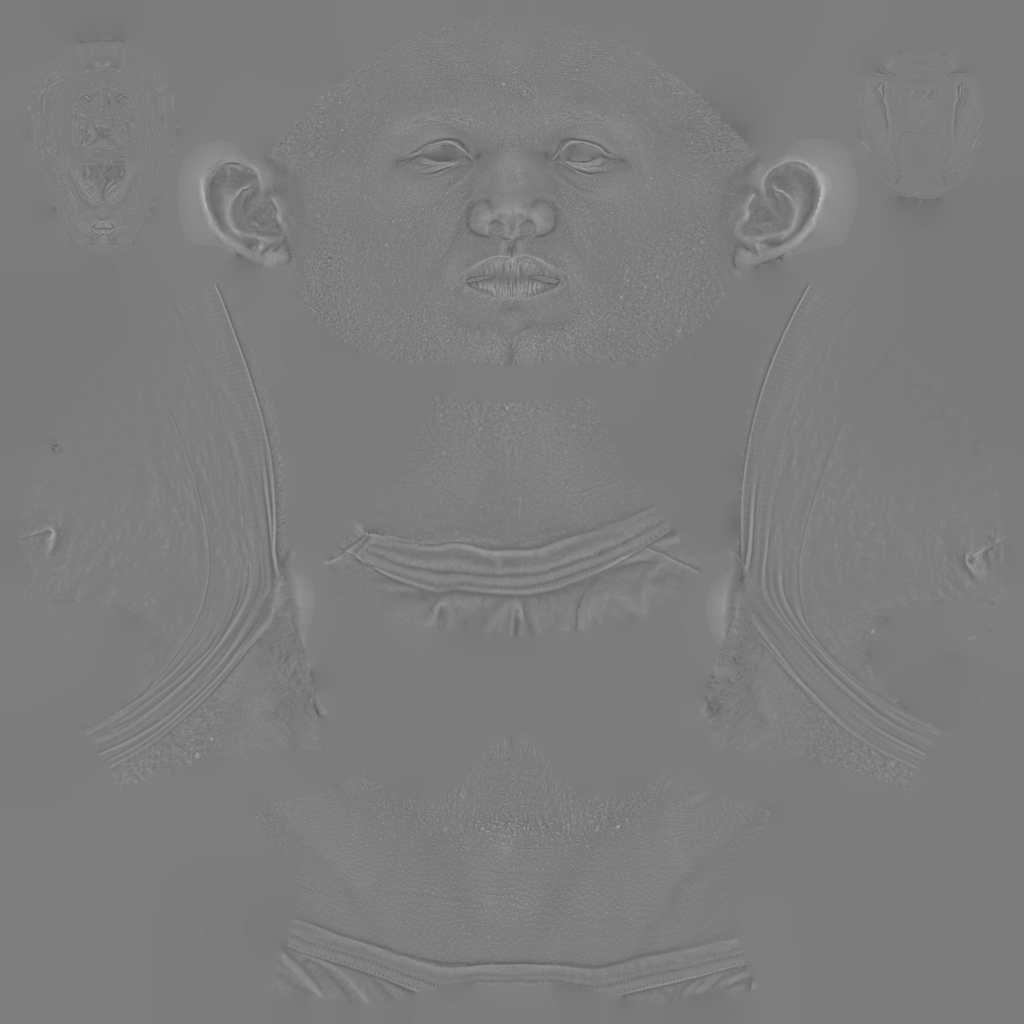
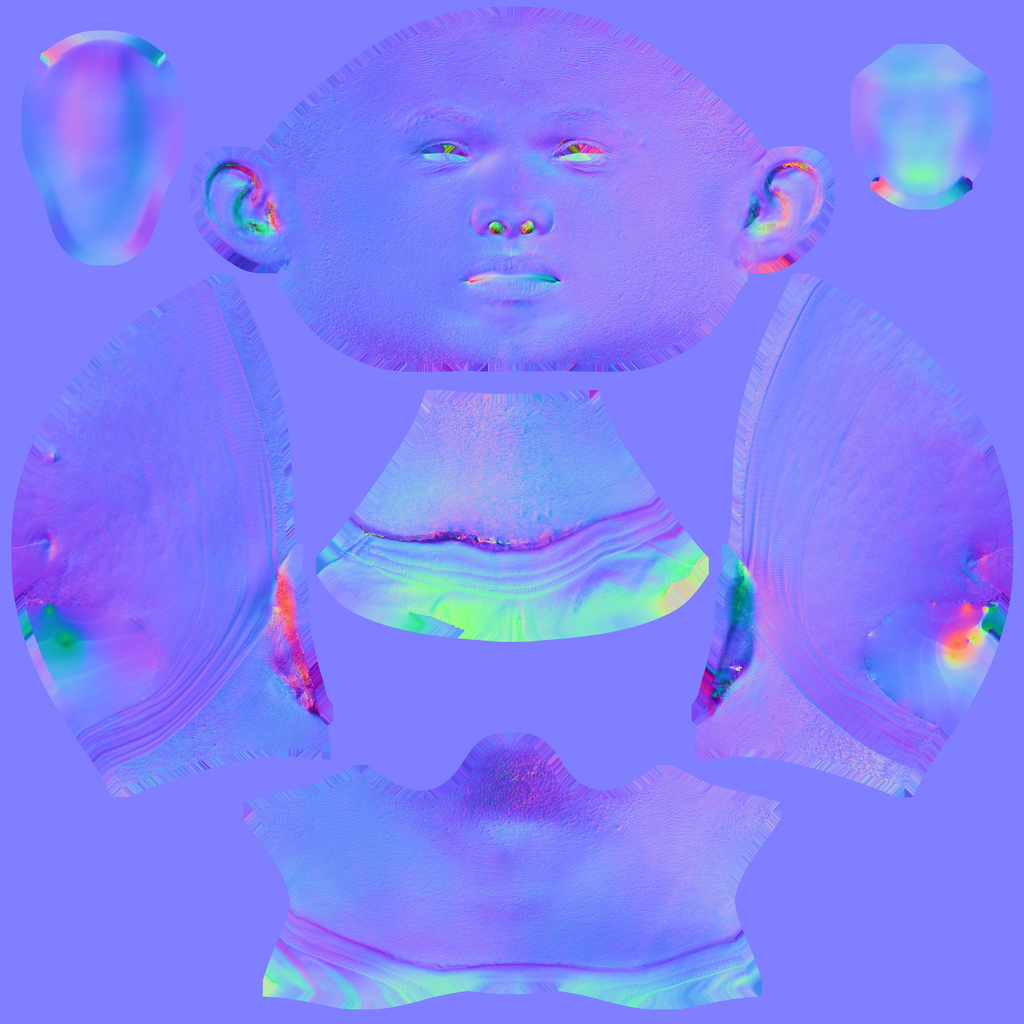
Firstly we acquired a basic set of globally lit diffuse albedo images, specular separated globally lit albedo images and a set of photometric normals of Spencer as outlined in a recent blog post.
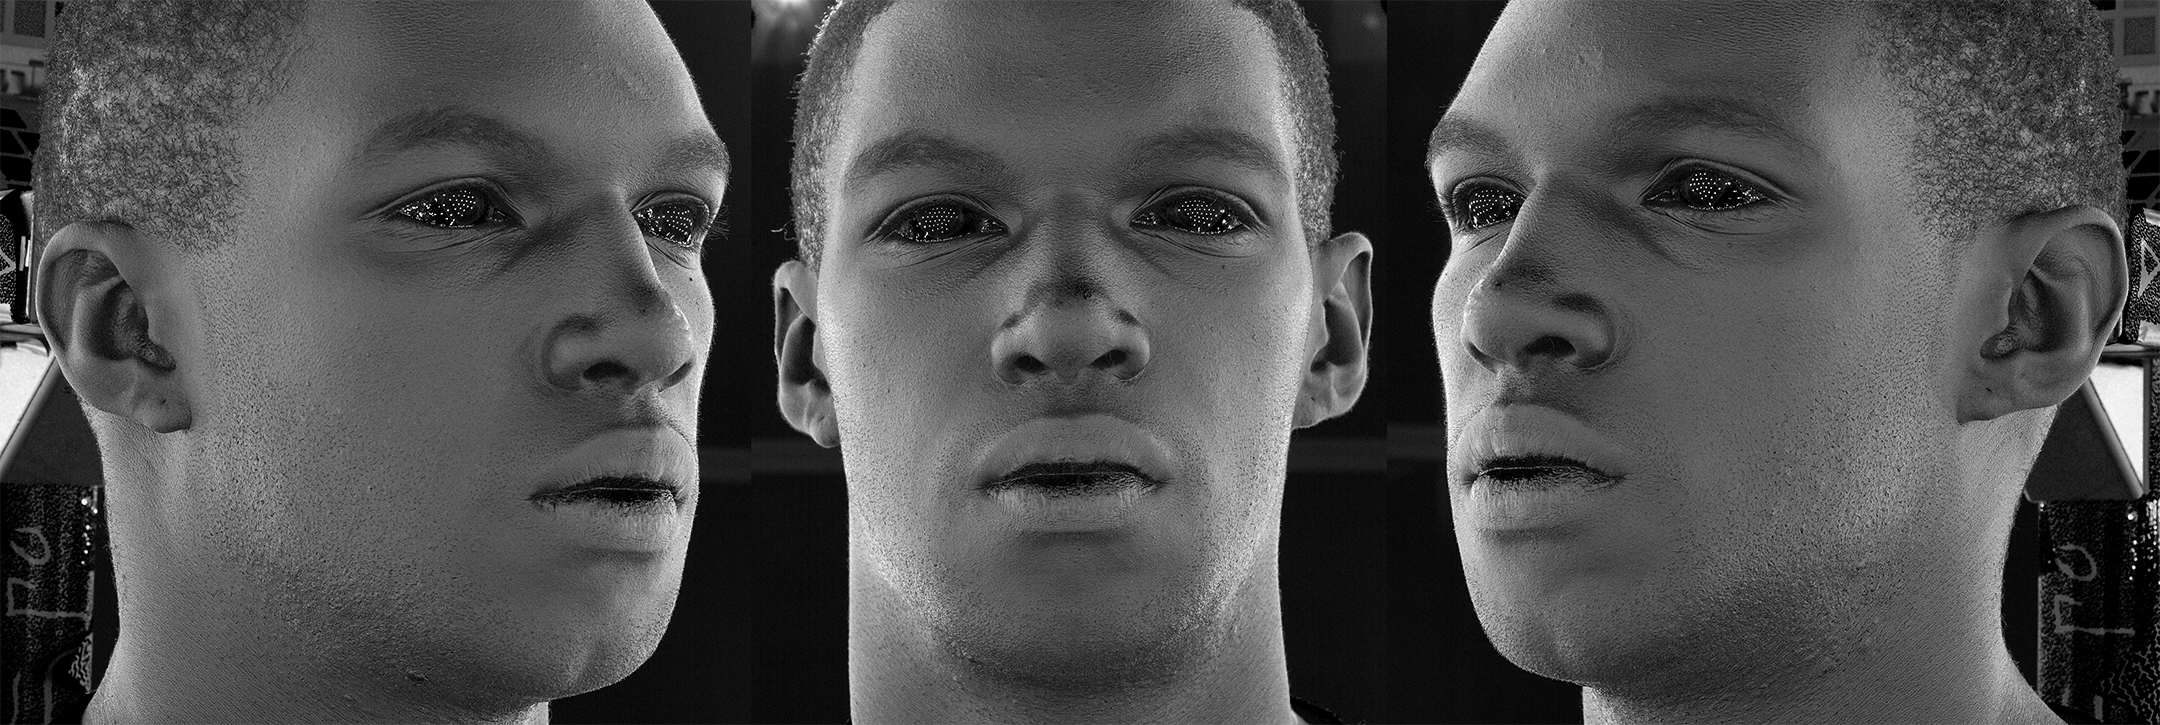
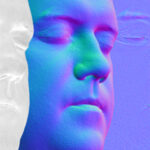
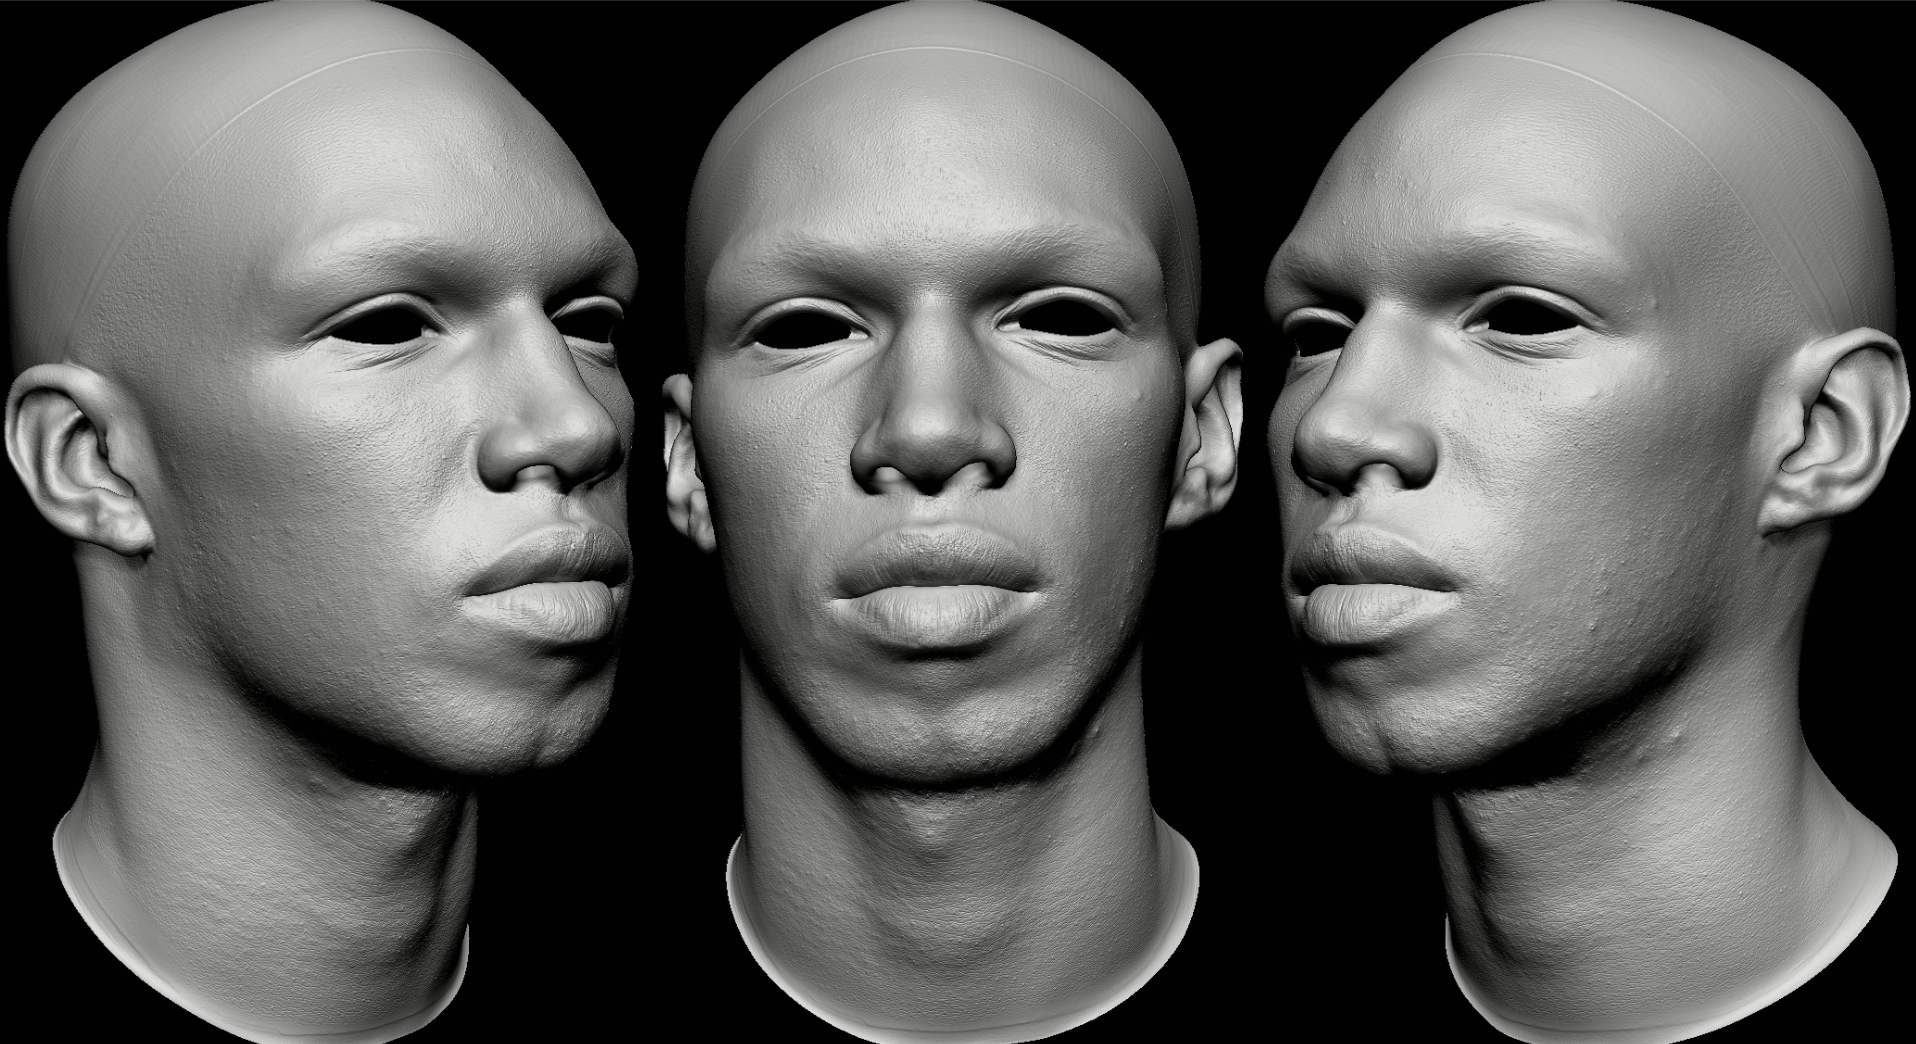
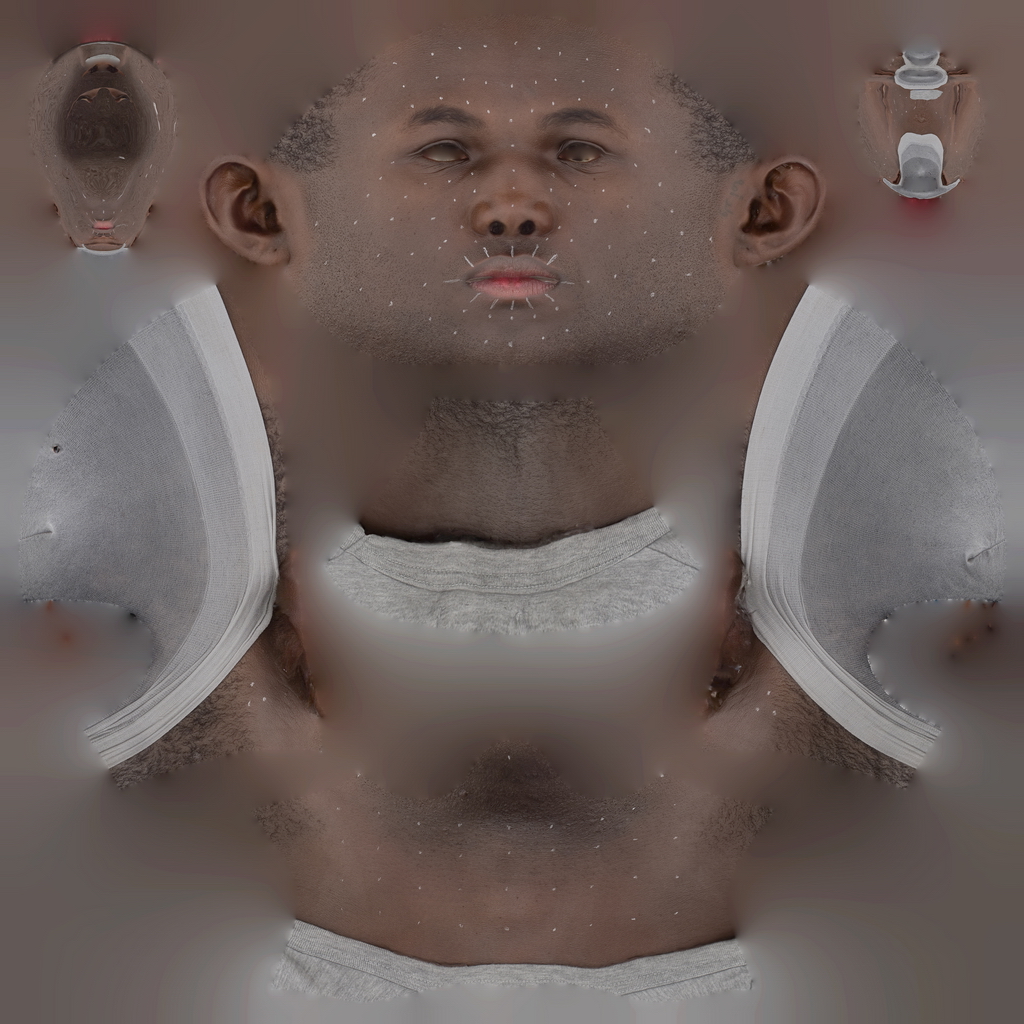
Ground Truth Likeness Model
Spencer’s likeness scan was then baked to a new low-resolution topology and the processed displacements maps were taken from the steered normals and applied to Spencer’s high-resolution ZBrush sculpt. These include wrinkles, creases and pore level details.
We then generated the additional appropriate real-time textures required to render Spencer correctly in Marmoset Toolbag 3.0 (this was pre Toolbag 4.0!).
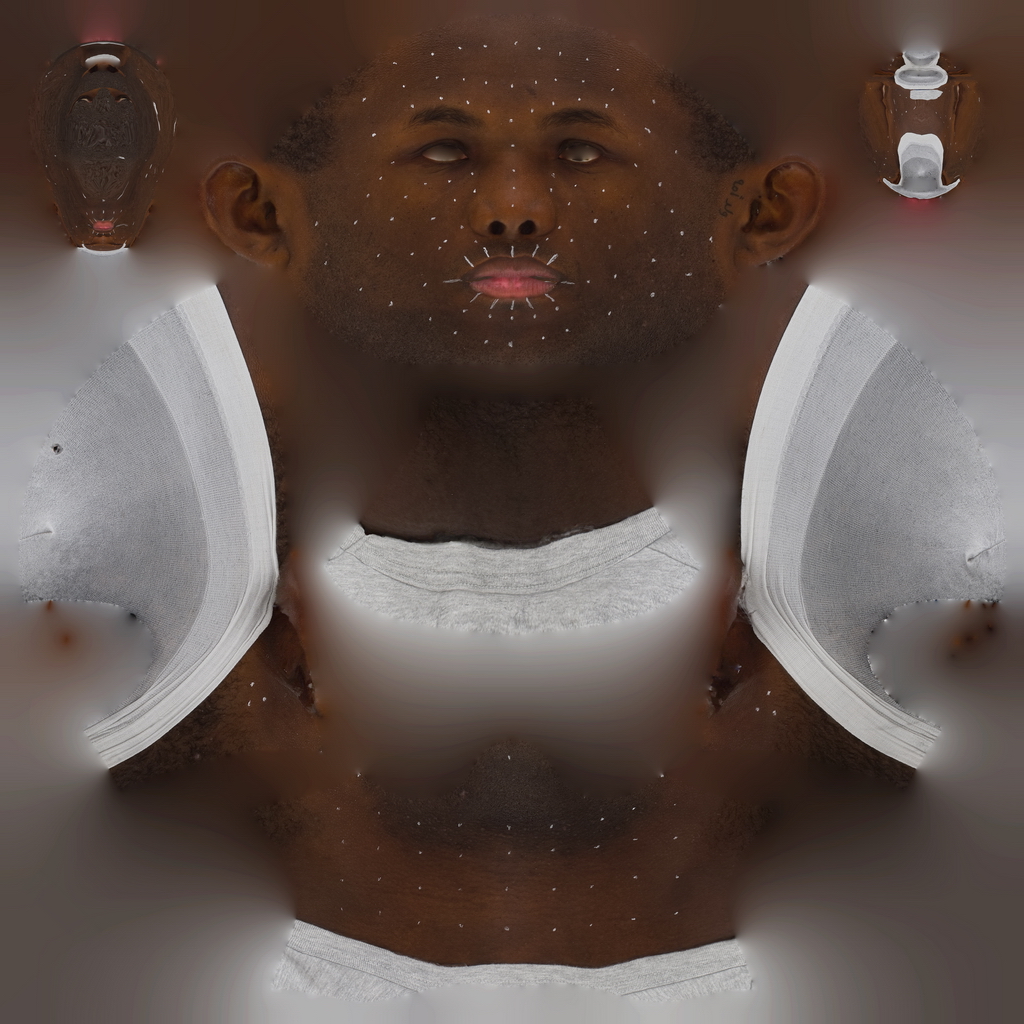

Motion Scanned
Our S0L system was then used to capture and process a short performance sequence of Spencer with audio. We will use this RAW performance to drive the photometric likeness scan data.
Once the RAW data has been processed we can quality check it using a custom set of tools to render out the motion scanned frames and texture sequence in Marmoset Toolbag 3, as well as to relight the data in any lighting condition for further presentations.
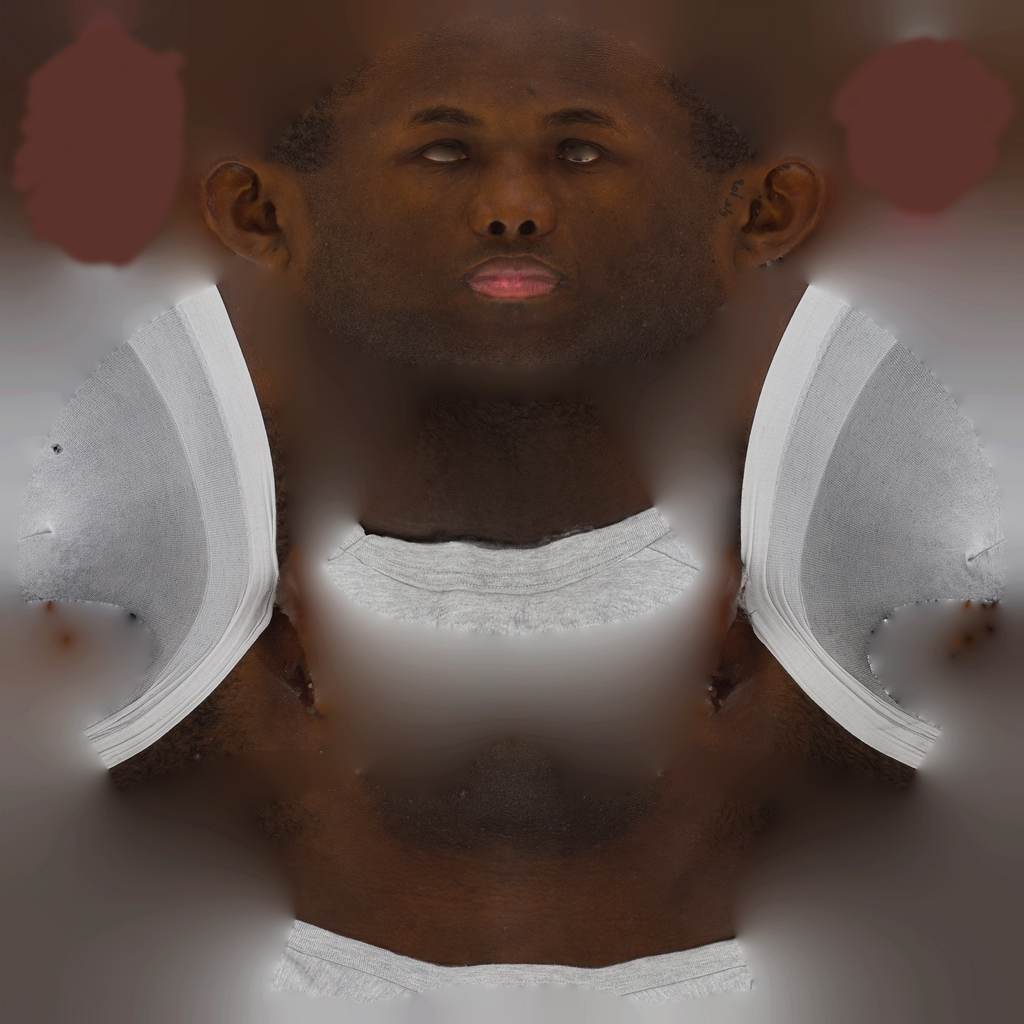
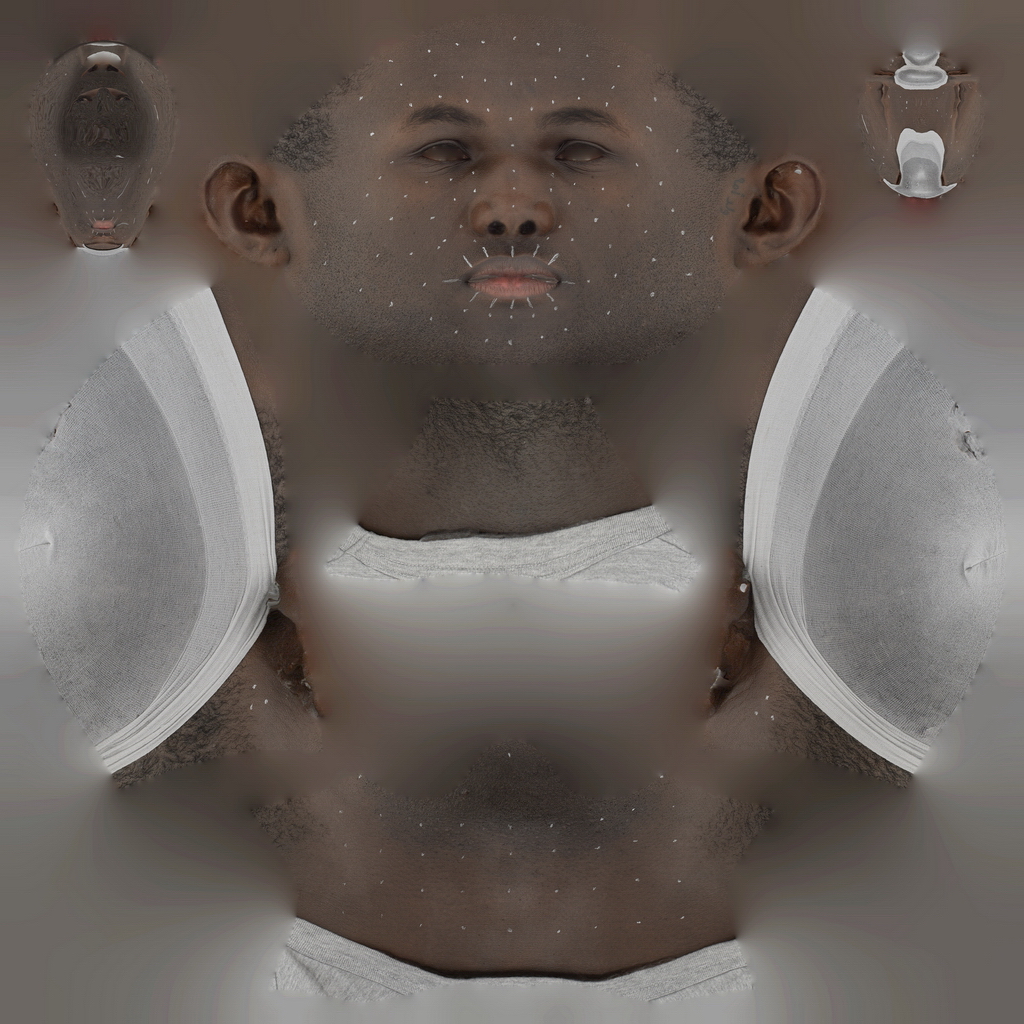
We use markers on our scan subjects to help with 2D tracking later in the pipeline. This also helps with optical flow for the photometric textures as well as the diffuse albedo motion scan texture sequence. The examples below showcase an older marker layout.
We typically set our machine vision cameras to record at 60fps (60 scans a second). This allows us to capture much more nuanced in-between frames of the subjects. However we can shoot at 24fps, 25fps, 30fps, 48fps or even 50fps.
Our early R&D tests suffered with some LED flickering which can be fixed later on in post on the texture sequence. We also originally captured with a mixture of parallel and cross-polarized light. We now shoot fully cross-polarized.
We did some optical flow in Wrap4D from the static photometric scan to the motion scans mixed parallel and cross-polarized albedo texture to make sure the pore details were in sync between the motion scan session and the photometric session.
R3DS Track & Wrapping
The guys at R3DS provide a very robust topology that’s built into Wrap4D. We then took the AEONX RAW motion scan data into R3DS’s Track and followed their tutorials here. After the data has been fully tracked (from a rigid sequence) it’s then wrapped and had optical-flow applied across the sequence, as well as other custom processes such as re-projection, further rigid tracking, skull blending etc. We can then add rigidly tracked digital eyes, teeth, hair details and an animated tongue into the sequence.
Rigid tracking is essential for eyes and teeth fitting. We will cover this in future tutorials.
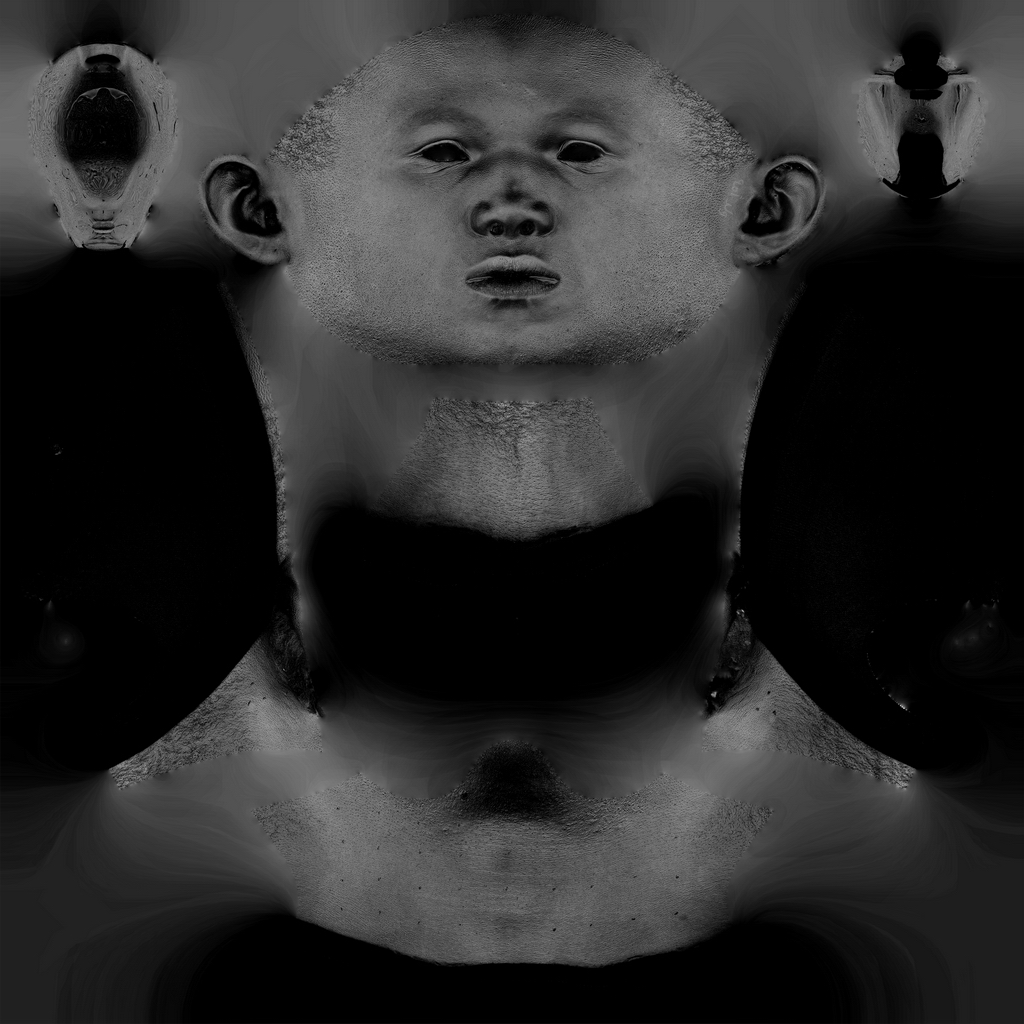
Adding the additional details took minimal work if you have a stock set of parts to use, which we used from our triplegangers real-time models. We will be re-using the baked textures from the Photometric scan, so the previous captured markers would no longer be visible. However, you can remove the markers on the baked texture sequence using After Effects, if you need to use the motion scans albedo texture sequence, as you can see below.
We can then export and compile Spencer’s digital double performance into a real-time Alembic model to play back either in real-time or offline rendered in Marmoset Toolbag 3 or Unreal! We added some extra details like skin peach fuzz and stubble. We set up the materials and lighting to match some movie lighting reference!
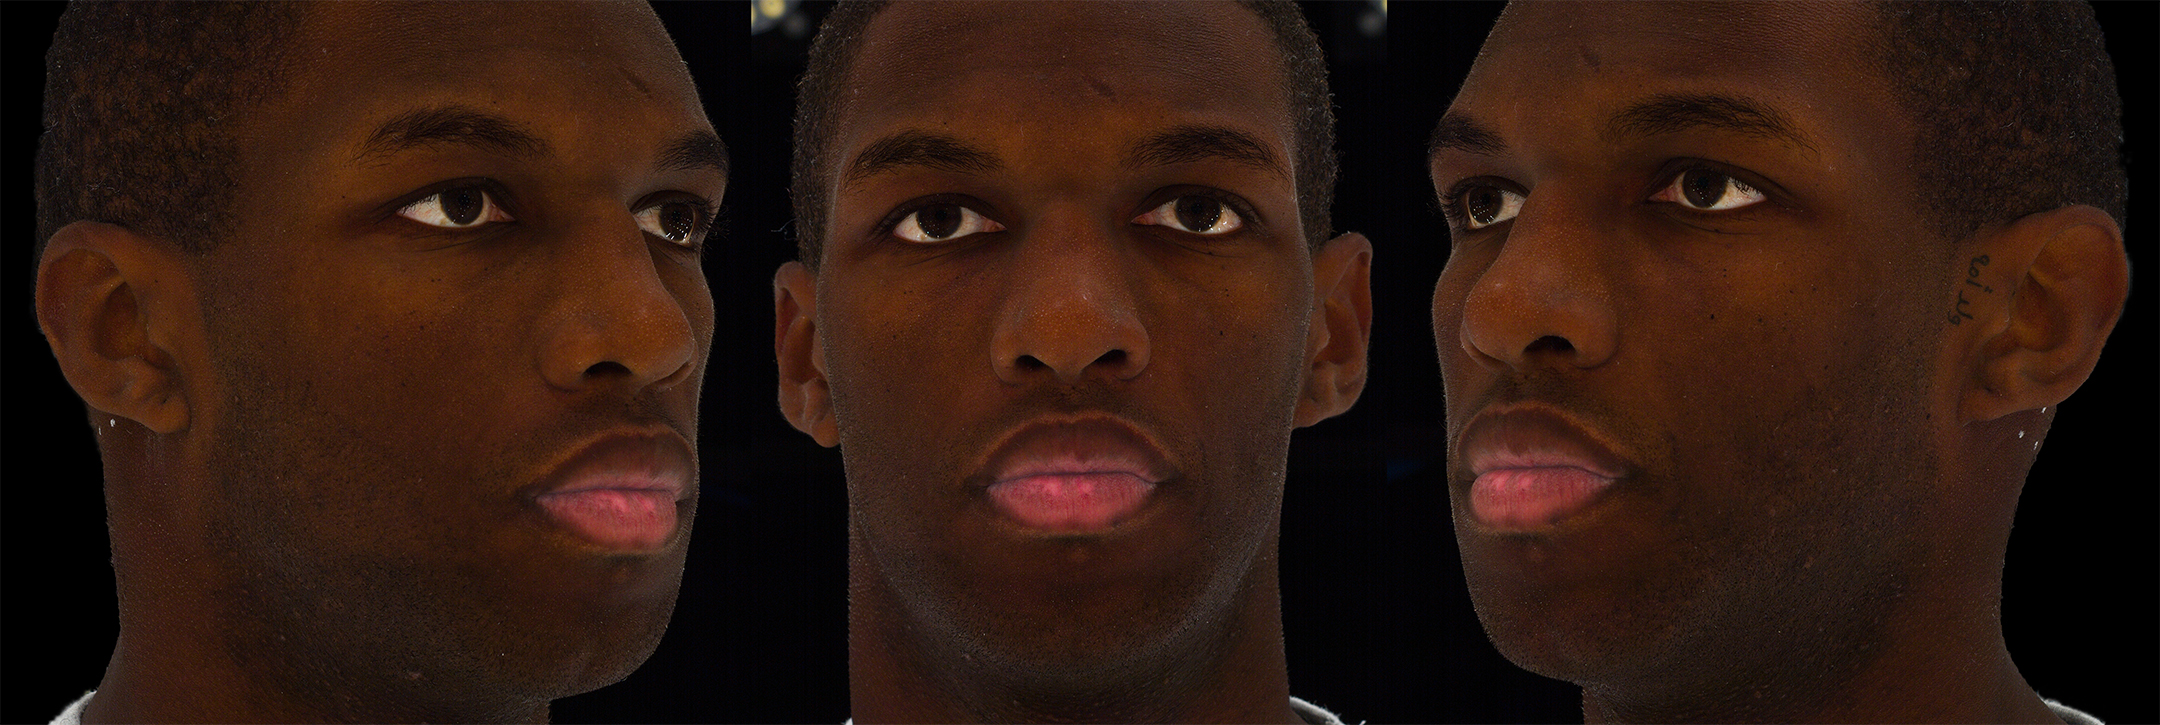
Spencer’s Digital Double Performance
The final results! We ran this test just to prove out that with our scanning system and services you can achieve unique looking realistic results on a decent budget. The process took about 1-2 days to complete, whilst learning how to use R3DS’s Wrap4D.
With the right equipment and tools the process is quite straight forward. We hope to offer our digital double processing services to the public very soon.
By using tailored photometric and captured motion scans of the original person, you will get much a more authentic looking result, less stock puppet and more nuanced.
The next step is to integrate static FACS multi-layered photometric details into the pipeline as a “machine learned” approached. More to come soon.
Thanks for reading